 Func Eats
How to Achieve Crispy Textures in Healthy Air Fryer Dinners 2026
Air fryer meals have become a staple for home cooks seeking healthier alternatives to deep-fried foods without sacrificing crunch. Achieving consistent crispiness in healthy air fryer dinners requires understanding the technology's core mechanics and applying targeted techniques. This comprehensive guide covers the science behind airflow, optimal preheating, light coating alternatives, detailed temperature and timing charts, common pitfalls with solutions, three complete recipes with full instructions, oven comparisons, advanced tips, and a troubleshooting FAQ to help you master crispy results every time.
The Science of Airflow in Air Fryers
Air fryers work by circulating hot air rapidly around food using a powerful fan. This convection process removes moisture from the surface quickly, creating a crisp exterior while keeping the interior tender. The Maillard reaction, responsible for browning and flavor development, accelerates under these conditions because the rapid airflow lowers the surface moisture barrier. Unlike traditional ovens, the compact basket design concentrates heat and airflow, reducing cooking time and promoting even browning. For best results, avoid overcrowding the basket, which blocks airflow and leads to steaming instead of crisping. Position food in a single layer whenever possible. Shake or flip items halfway through cooking to expose all surfaces to direct hot air. These steps ensure uniform texture across proteins and vegetables alike. Understanding these principles allows you to adjust variables like basket size and load for different meal types.
Optimal Preheating Methods
Preheating your air fryer for 3 to 5 minutes at the target temperature stabilizes the cooking environment. This step prevents initial temperature drops that cause food to absorb excess moisture and become soggy. Most models reach temperature quickly, but always check your manual for specific guidance. Preheating is especially important for breaded or coated items that rely on immediate surface dehydration for crunch. Test your model by placing a small piece of bread inside; if it browns evenly within the first minute, the unit is ready. Skipping this step often results in uneven cooking and reduced crispiness, particularly with dense proteins like chicken thighs.
Light Coating Alternatives to Traditional Frying
Traditional frying relies on heavy oil, but healthy versions use minimal sprays or none at all. Opt for a light mist of avocado oil or olive oil using a pump sprayer. These oils have high smoke points and add flavor without excess calories. For extra crunch, try panko breadcrumbs, crushed nuts, or a light dusting of cornstarch mixed with spices. Apply coatings sparingly to maintain the air fryer's efficiency. Experiment with seasonings like smoked paprika or garlic powder to enhance flavor without adding bulk. Always apply coatings after lightly patting food dry to help them adhere better during the high-heat airflow process.
Learn more about safe cooking oils from the FDA.
Temperature and Timing Charts
Use these guidelines for common proteins and vegetables. Always verify doneness with a food thermometer. Adjust times slightly based on thickness and starting temperature of ingredients.
- Chicken breast (boneless, 6 oz): 375°F for 12-15 minutes, flip halfway, internal temp 165°F
- Salmon fillets (skin-on): 400°F for 8-10 minutes, no flip needed
- Shrimp (large, peeled): 380°F for 6-8 minutes, shake basket once
- Broccoli florets: 390°F for 8-10 minutes, light oil spray recommended
- Brussels sprouts (halved): 375°F for 12-15 minutes, shake midway
- Sweet potato wedges: 380°F for 15-18 minutes, single layer only
- Pork tenderloin medallions: 390°F for 10-12 minutes, rest 3 minutes after cooking
- Cauliflower steaks: 385°F for 14-16 minutes, season before cooking
Common Pitfalls and Fixes
Many users encounter soggy results due to excess moisture, overcrowding, or skipping preheating. To fix: pat food dry before cooking, cook in batches if needed, and always preheat. Frozen items should not be thawed first, as the rapid temperature change aids crisping. For very wet vegetables like zucchini, salt them lightly 10 minutes ahead and blot away released water. Other pitfalls include using too much oil, which can drip and cause smoking, or failing to clean the basket regularly, leading to residue that disrupts airflow. If results are uneven, rotate the basket position during cooking. High-humidity environments may require an extra minute or two at the end of the cycle.
Three Example Dinner Recipes
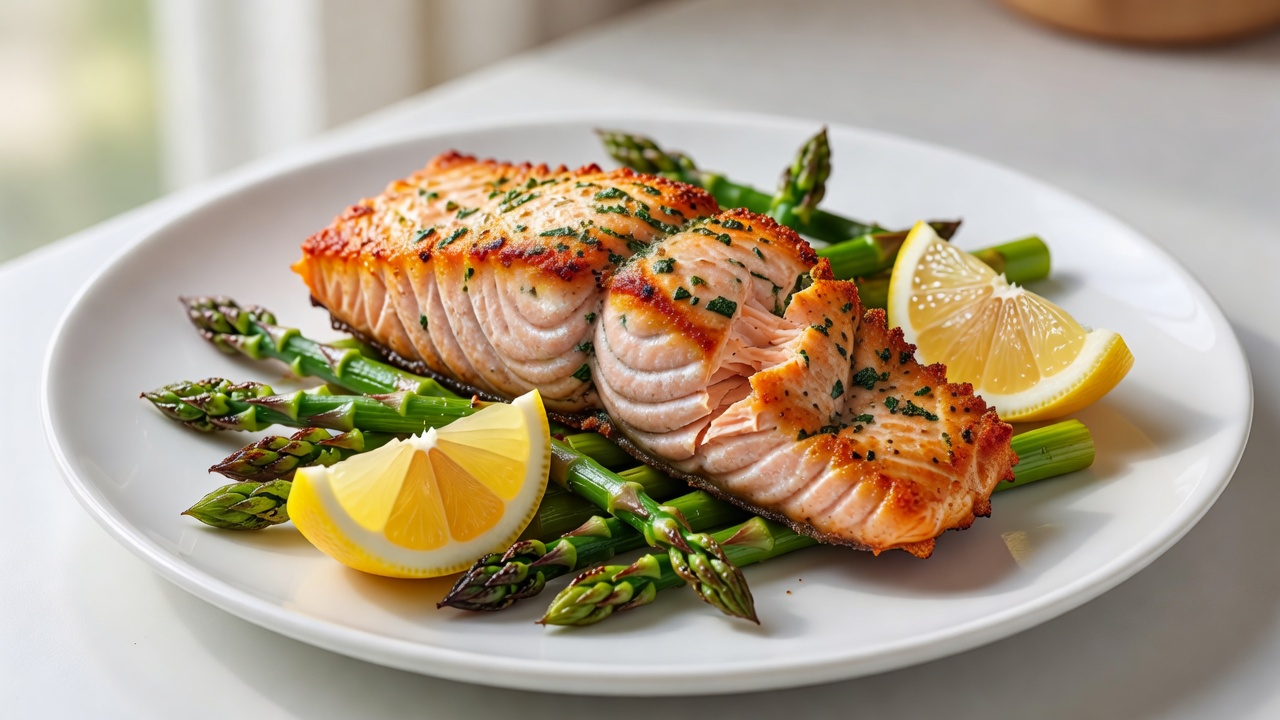
1. Crispy Herb Salmon with Asparagus
Ingredients for 2 servings: two 6-oz salmon fillets, one bunch asparagus, fresh dill, lemon, light olive oil spray, salt and pepper. Pat salmon dry and season generously. Spray lightly and place in the basket with trimmed asparagus spears. Air fry at 400°F for 9 minutes. Finish with lemon zest and dill. This recipe demonstrates even airflow on delicate proteins paired with quick-cooking vegetables.
2. Garlic Parmesan Chicken Tenders
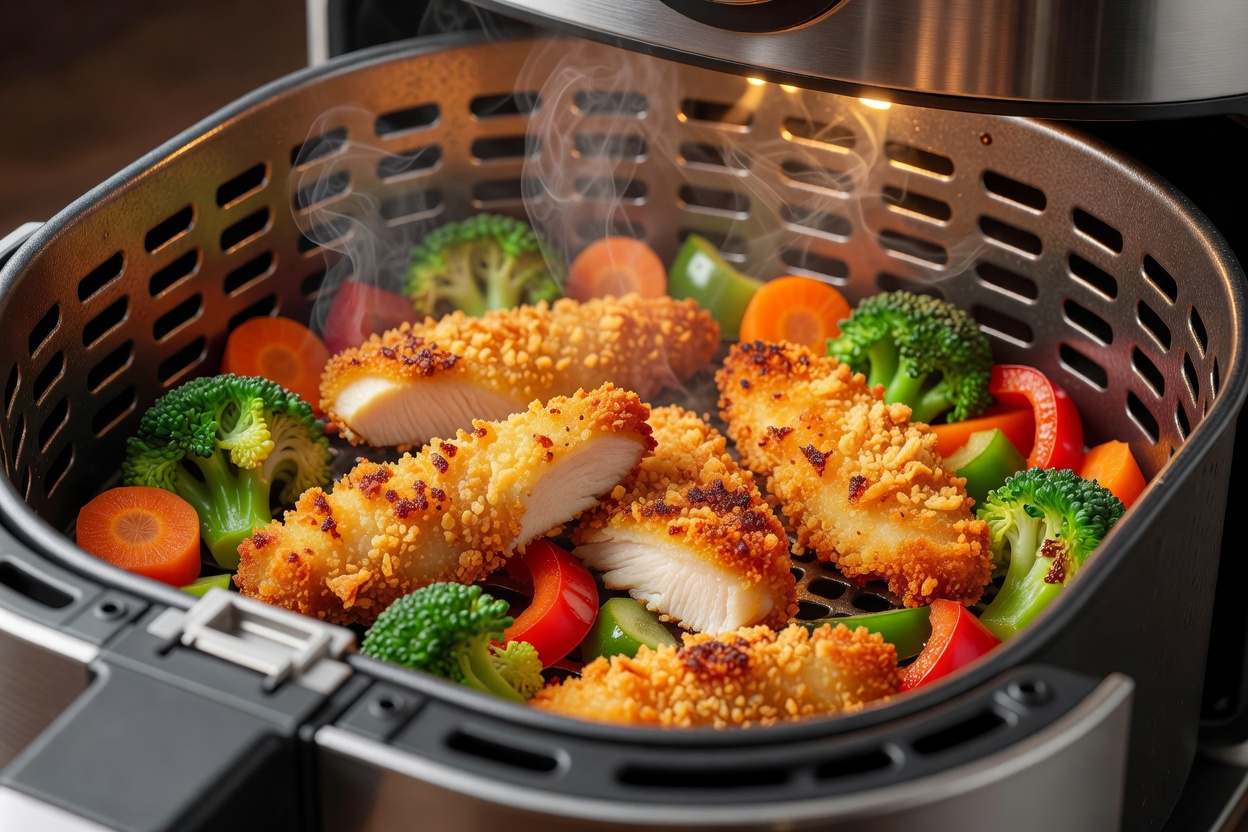
Ingredients for 4 servings: one pound chicken tenders, one cup panko, half cup grated parmesan, two teaspoons garlic powder, one egg white, salt. Whisk egg white and dip tenders, then coat in the dry mixture. Preheat air fryer to 375°F. Cook tenders for 14 minutes, flipping once at seven minutes. Serve with a crisp side salad. The light coating creates a satisfying crunch without deep frying.
3. Crispy Chickpea and Vegetable Bowl
Ingredients for 3 servings: one can chickpeas (drained and patted dry), two cups mixed vegetables such as bell peppers and zucchini, one tablespoon spice blend, minimal oil spray. Toss ingredients and air fry at 385°F for 12 minutes, shaking twice. The dry chickpeas become exceptionally crunchy, forming the base of a balanced, plant-forward dinner.
Advanced Tips for Maximum Crispiness
For superior results, consider investing in perforated parchment liners that allow airflow while easing cleanup. Experiment with different basket materials; stainless steel models often promote better browning than nonstick. When preparing multiple components, cook proteins first then vegetables to avoid flavor cross-contamination. Monitor smaller batches closely since cooking times decrease with reduced load. These refinements build on basic techniques for consistent, professional-level textures.
Comparison with Oven-Baked Versions
Oven baking typically requires higher temperatures and longer times, often resulting in softer textures unless food is placed on a wire rack. Air fryers deliver superior crispiness in roughly half the time due to concentrated airflow. For example, oven-baked chicken tenders may take 25 minutes at 425°F, while the air fryer achieves similar or better results in 14 minutes. Oven methods also consume more energy for equivalent batches and require more monitoring to prevent drying out. Air fryers excel at retaining moisture inside while crisping the exterior, making them ideal for healthy weeknight dinners.
Troubleshooting FAQ
- Why is my food still soggy? Likely overcrowding or excess moisture—cook in smaller batches and pat dry thoroughly.
- Can I use foil or parchment? Yes, but perforate it to allow airflow; otherwise results may steam.
- How do I clean the basket for better performance? Wipe after each use to prevent residue buildup that affects heat circulation.
- What if my air fryer model has uneven heating? Rotate the basket every five minutes and test different positions.
- Are there specific settings for breaded items? Use 5°F lower than standard and add one minute to allow coatings to set.
- Can I air fry frozen dinners for crispiness? Yes, but increase time by 20% and shake frequently without thawing first.
Check USDA food safety guidelines for proper internal temperatures. Visit Nutrition.gov for balanced meal planning resources.
Conclusion
With the right techniques, healthy air fryer dinners can deliver restaurant-quality crispiness every time. Apply these airflow, preheating, and coating strategies consistently, and experiment with the provided recipes to build confidence. Your meals will taste better and cook faster than traditional oven methods while supporting healthier eating habits.
No comments yet. Be the first!